Building an Operating System In Rust Part 1
Benjamin Chibuzor-Orie

Building an operating system is a project I have had my eyes set on ever since I discovered free will in the realm of programming. Years ago, I did a reasonable amount of research, paying extra attention to the subject during my computer science degree and I was able to understand Operating System Theory and how it works from first principles but I never really got around to building one. I had only flimsy reasons for not embarking on it like "why build one when there are tons of working ones out there? The theoretical knowledge is enough". More recently, I am ignoring the need to not re-invent the wheel for the joy of programming. So if you are interested in also rebuilding stuff because you can, join me on this series as I document how I am going to be building kluster.
kluster is in its infancy and the direction is not clear but the one certain thing is that I will be building it entirely in Rust, save some assembly instructions and a linker script and I will be explaining every single line of code along the way. It will also be designed to target the raspberrypi 4 & 5, on qemu and on real hardware respectively. This is an opportunity for anyone who wants to see how Rust works at the lowest of levels to hop on and join the ride.
Note that this series will be your biggest lesson on delayed gratification because we will write a lot of code before we even get to see anything meaningful on screen but I will foreshadow what you can get by the end of part 3 if you are patient enough:
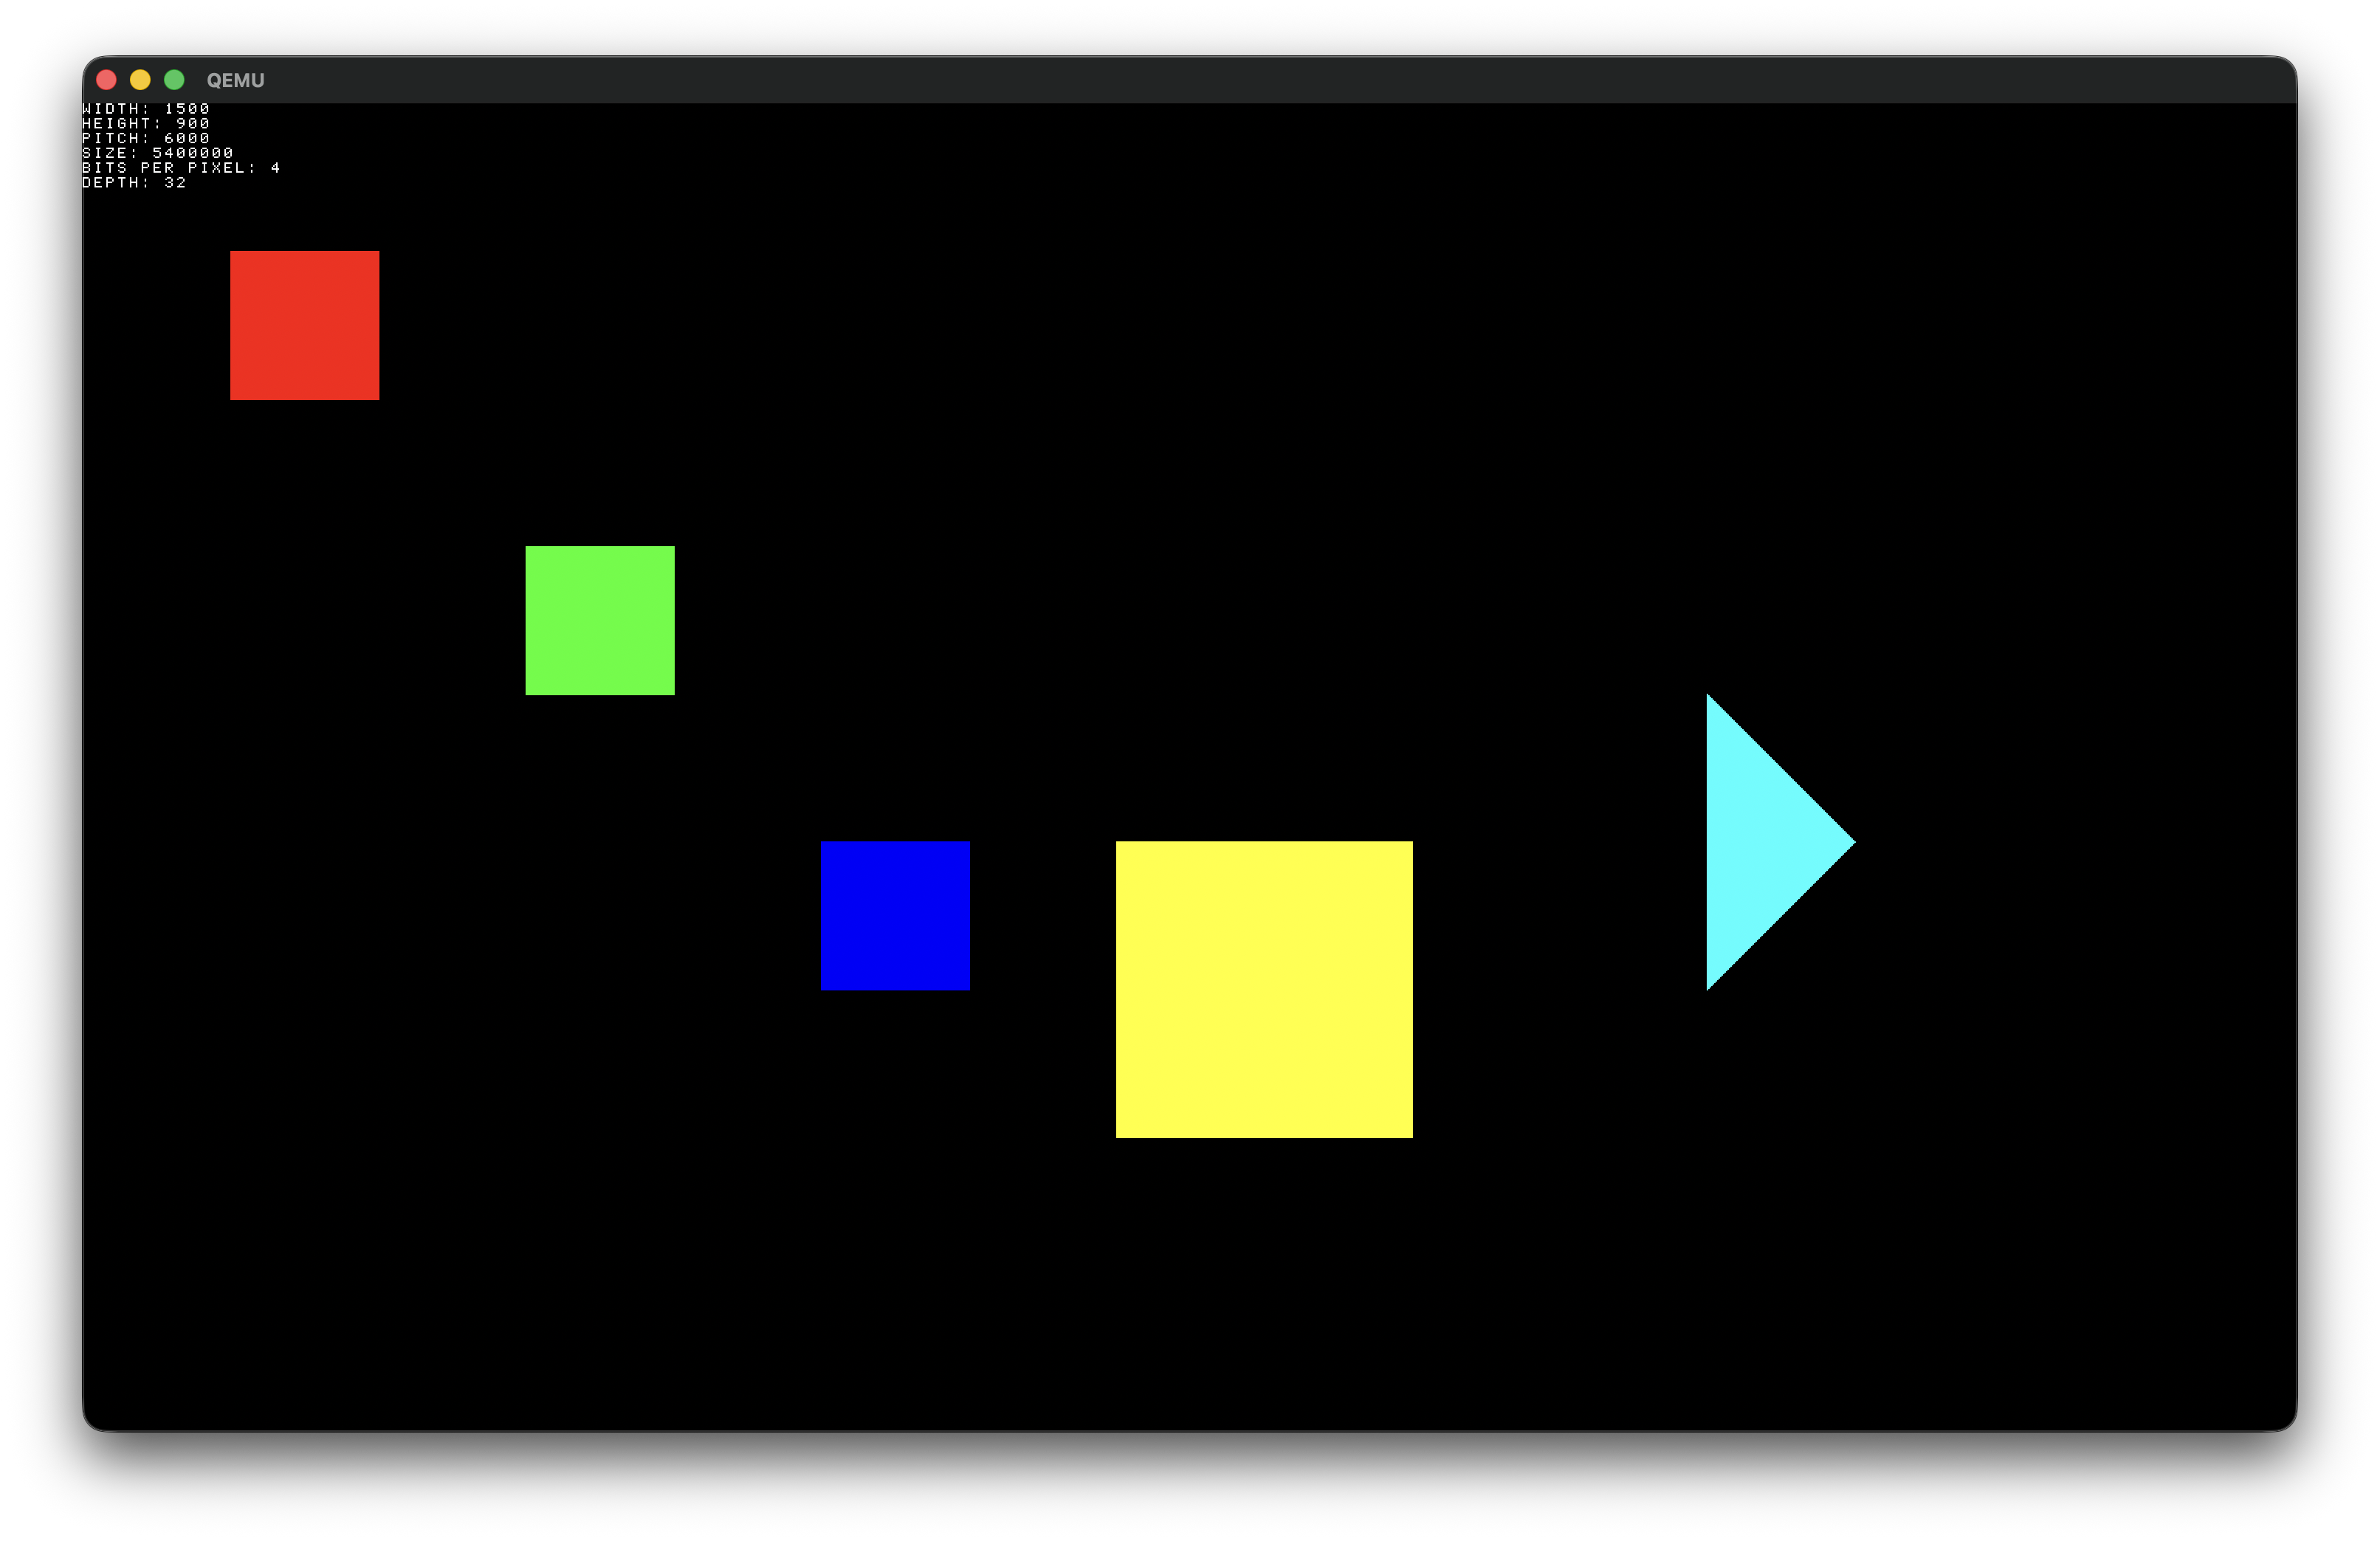
You can also clone the source code for part 1 from Github and follow along.
Project Setup
First things first, let us setup the foundation of the project. I'll be straight with you, I love Rust and I enjoy using the Rust ecosystem in its entirety so I will stay true to that and use it as obsessively as any true Rustacean; I won't hold back. Without doubt, all the dependencies we need are freely available as long as you have a working Rust/Cargo installation.
Installing Rust
I should assume you have the runtime if you are even opening any page with this title but for the benefit of doubt:
curl --proto '=https' --tlsv1.2 -sSf https://sh.rustup.rs | sh
Run the above command to install the Rust toolchain. If you already have the Rust toolchain then update it to the latest version:
rustup update
Create a new Rust binary crate:
cargo new --bin op-sys
Now let's do some plumbing to setup the foundation for the project.
Let there be night
I will explain in a couple paragraphs why, but we need the rust nightly toolchain for this project so go ahead and install it:
rustup toolchain install nightly
Also configure it as the default for this project by creating a file rust-toolchain.toml in the root and adding the following content:
[toolchain]
channel = "nightly"
For our OS we are also going to be targetting the Aarch64 CPU barebones so first we install the target:
rustup target add aarch64-unknown-none-softfloat
Then we configure it as the default compilation target for this project by creating a file .cargo/config.toml in the root and adding the following content:
[build]
target = "aarch64-unknown-none-softfloat"
Build tools
We need to install llvm-tools on the nightly toolchain because we make use of llvm-objcopy during the build process to turn the ELF into a raw kernel image. cargo-binutils is a wrapper around the tools installed by llvm-tools that allow them to work well with our cargo project and we will also be installing that.
rustup component add llvm-tools --toolchain nightly
cargo install cargo-binutils
Next we need to install cargo-make. It will help us organize our build harness into smaller manageable tasks.
cargo install cargo-make
Install the Emulator
We need to install the emulator on which we will be running our Operating System. We will be using QEMU. I won't go into platform specific details on how to install QEMU but feel free to dig through the documentation to get your installation up and running. After installing it run this command to make sure you have raspi4b emulator installed:
qemu-system-aarch64 -M help | grep raspi4b
Note that this OS will also be designed to target Raspberry Pi 5 hardware so if you have that then you are in luck.
Setting up the Makefile.toml
In the spirit of using Rust from top to bottom we have opted for using cargo make a build tool reminiscient of make the C build tool.
Cargo make is more modern and has a better syntax, we would be crazy not to go with it. Cargo make is a very flexible tool that can achieve almost any kind of configuration you are looking for. It is not in our best interest to cover all of its capabilities in this series but we will cover as many features as we end up using.
Let us set up our Makefile.toml:
[env]
RUSTFLAGS = "-C target-cpu=cortex-a76 -C link-arg=--library-path=src/motherboards/raspberrypi -C link-arg=--script=kernel.ld"
RUSTFLAGS_PI4 = "-C target-cpu=cortex-a72 -C link-arg=--library-path=src/motherboards/raspberrypi -C link-arg=--script=kernel.ld"

[tasks.compile]
script = "RUSTFLAGS=${RUSTFLAGS} cargo objcopy --release  -- --strip-all -O binary target/kernel_2712.img"

[tasks.compile-emulate]
script = "RUSTFLAGS=${RUSTFLAGS_PI4} cargo objcopy --release --no-default-features --features emulator,rpi4  -- --strip-all -O binary target/kernel_2712.img"

[tasks.sync]
dependencies = ["compile"]
command = "cp"
args = ["target/kernel_2712.img", "/Volumes/bootfs/kernel_2712.img"]

[tasks.emulate]
dependencies = ["compile-emulate"]
command = "qemu-system-aarch64"
args = [
    "-machine",
    "raspi4b",
    "-kernel",
    "target/kernel_2712.img",
    "-serial",
    "stdio",
    "-display",
    "cocoa",
]
Let's go over everything that's happening here section by section:
[env]
RUSTFLAGS = "-C target-cpu=cortex-a76 -C link-arg=--library-path=src/motherboards/raspberrypi -C link-arg=--script=kernel.ld"
RUSTFLAGS_PI4 = "-C target-cpu=cortex-a72 -C link-arg=--library-path=src/motherboards/raspberrypi -C link-arg=--script=kernel.ld"
The [env] directive is used to setup environment variables that all make tasks can inherit from and pass into their execution scope.
Here we define two variables called RUSTFLAGS. They are used to pass special configuration options to rustc during compilation. One is used when compiling for the Pi 4 and the other is used for the Pi 5.
Next we have the compile tasks. These tasks are responsible for compiling the kernel into a raw image for either Pi 4 or Pi 5.
[tasks.compile]
script = "RUSTFLAGS=${RUSTFLAGS} cargo objcopy --release  -- --strip-all -O binary target/kernel_2712.img"

[tasks.compile-emulate]
script = "RUSTFLAGS=${RUSTFLAGS_PI4} cargo objcopy --release --no-default-features --features emulator,rpi4  -- --strip-all -O binary target/kernel_2712.img"
In one pass, cargo will first build the project, then run objcopy on the output and store the binary at the path we have provided. In the second task compile-emulate, we have added some features to customize the build output namely emulator and rpi4. You will see how we use these features later in the code but for now just understand that they allow us include or exclude some lines of code from the final output depending on which machine we are targeting. It is worth mentioning at this stage that this kernel was not tested on a physical raspberry pi 4 device, rather it was set up on QEMU raspi4. It was however tested on a physical raspberry pi 5 device.
You can try to run it on a physical raspberry pi 4 without the emulator feature but I can't guarantee the success of your experiments in this direction. Of course if you run into any issues, leave a comment and I will respond with some advice on how to resolve them.
Next we have the actual execution instructions for our operating system:
[tasks.sync]
dependencies = ["compile"]
command = "cp"
args = ["target/kernel_2712.img", "/Volumes/bootfs/kernel_2712.img"]
The task named sync is used for copying the raw kernel image to a hard drive containing a raspberry pi installation. As you can see it depends on the compile task which compiles the raspberrypi 5 variant of our kernel. The process is pretty straightforward, burn a regular raspbian OS image to a drive or memory stick using Raspberry Pi Imager as you normally would. then update the above command such that it copies kernel_2712.img into the root of the drive. Afterwards all you need to do is stick it into a physical Raspberry Pi 5 device and voila! You have your OS running; obviously not at this stage because we have not written any actual OS code.
[tasks.emulate]
dependencies = ["compile-emulate"]
command = "qemu-system-aarch64"
args = [
    "-machine",
    "raspi4b",
    "-kernel",
    "target/kernel_2712.img",
    "-serial",
    "stdio",
    "-display",
    "cocoa",
]
The task named emulate is used for spinning up a QEMU emulator running our raw kernel image. As per our configuration, it depends on compile-emulate task which compiles the raspberrypi4 variant of our kernel.
For fast iterative development, using the emulator is preferred but if you think plugging and unplugging a memory stick every time you want to test your changes is exciting then I am not going to stop you. Either approach will work with this tutorial, I have made sure of that.
Building the Foundation
Okay now that we have our project setup, let us discuss one of the most fundamental concepts in building an operating system, the entry point. When writing any kind of program, Your code needs to be loaded into a particular memory location in order for the CPU to start executing it. This is true for any kind of program not just operating systems. In higher level Rust, we define fn main() and that becomes the entry point of the program but the only reason this works is because the compiler is designed to output object code placing the start of the main function at a memory location where the CPU is expecting it to be. In lower level environments like the one we are currently working in, we have to do everything manually. We have to configure our kernel so that the entry point is located where the CPU will be looking for code to execute. If we don't do this then the CPU cannot run the kernel.
So let's update src/main.rs to something more befitting of a low level project:
#![no_std]
#![no_main]
#![allow(internal_features)]
#![feature(lang_items)]
The first directive no_std simply tells the compiler that we want to build a freestanding binary without linking in the Rust standard library. Then no_main allows us compile code that does not explicitly define a fn main(). Like I said we are taking full control so the training wheels come off at this point. The next directive allow(internal_features) is just a lint ignore that allows us to use the last directive feature(lang_items) which is a special nightly feature gate (hence the nightly toolchain we installed at the beginning) that allows us to supply important behavior (like error handling) needed by the compiler in specific scenarios now that we are abandoning the training wheels.
You should be getting an annoying error from rust-analyzer:
can't find crate for `test`
To fix it, go into Cargo.toml and add the following lines to what is already there:
[[bin]]
name = "op_sys"
path = "src/main.rs"
test = false
bench = false

[profile.dev]
panic = "abort"

[profile.release]
lto = true
panic = "abort"
You see what we have just done is configure an explicit binary for our low level needs. We disabled test and bench so the compiler doesn't bootstrap the testing and benchmarking harnesses into our binary. We won't be needing that for our kernel anyways. Let's run cargo check to see if the coast is clear!
error: `#[panic_handler]` function required, but not found
Well the error is quite descriptive. Our dear compiler dumped std and put all its faith in us. Now we need to provide it with all the language items that it needs to function properly.
Create a new file src/panic_cfg.rs:
use core::panic::PanicInfo;

#[panic_handler]
fn panic(_info: &PanicInfo) -> ! {}

#[lang = "eh_personality"]
extern "C" fn eh_personality() {}
Then add the module to src/main.rs:
mod panic_cfg;
Now we need to implement the panic handler. remove the dependencies section in Cargo.toml and replace it with:
[target.'cfg(target_arch = "aarch64")'.dependencies]
aarch64-cpu = { version = "9.x.x" }
This adds a new crate with which we can conveniently run Aarch64 CPU instructions from Rust land in a rusty way. For the first time, we are going to write code which is expected to run on only one CPU architecture, aarch64. We will structure our code so that we can easily extend the operating system to work on a matrix of CPUs and Motherboards.
Create a new file src/processors/aarch64/cpu.rs:
use aarch64_cpu::asm;

#[inline(always)]
pub fn wait_forever() -> ! {
    loop {
        asm::wfe()
    }
}
This function is really simple, it loops forever but with an interesting twist; it calls the Wait-For-Event instruction in ASM in order to optimize the forever loop so that the processor can go into a low power sleep mode until an event is received. Let's link this file into the rest of our crate and use it in our panic handler.
Create a file src/processors/aarch64/mod.rs:
pub mod cpu;
Then create src/processors/mod.rs:
mod aarch64;

#[cfg(target_arch = "aarch64")]
pub use aarch64::cpu::wait_forever;
Most of the code we are going to write will be either specific to a CPU type or specific to a motherboard so we will be doing this kind of modularization from the start so that our code is well organized and maintainable.
Finally, add the following content to src/main.rs:
mod processors;
We can go back to panic_cfg.rs and update the implementation of fn panic():
#[panic_handler]
fn panic(_info: &PanicInfo) -> ! {
    crate::processors::wait_forever()
}
At this point, cargo check is no longer failing and if we run cargo build it succeeds with a warning:
warning: linker stderr: rust-lld: cannot find entry symbol _start; not setting start address
Bro is looking for a way in but we have not provided any.
Conclusion
The binary is pretty much useless without a recognizable entry point but we have one foot in the door now. In Part 2 we are going to be implementing an entry point for our kernel
Discussion